Emma (Lakin), at Foster & Son in London, is creating the pattern for my first pair of bespoke shoes with them – mid-brown Oxfords.
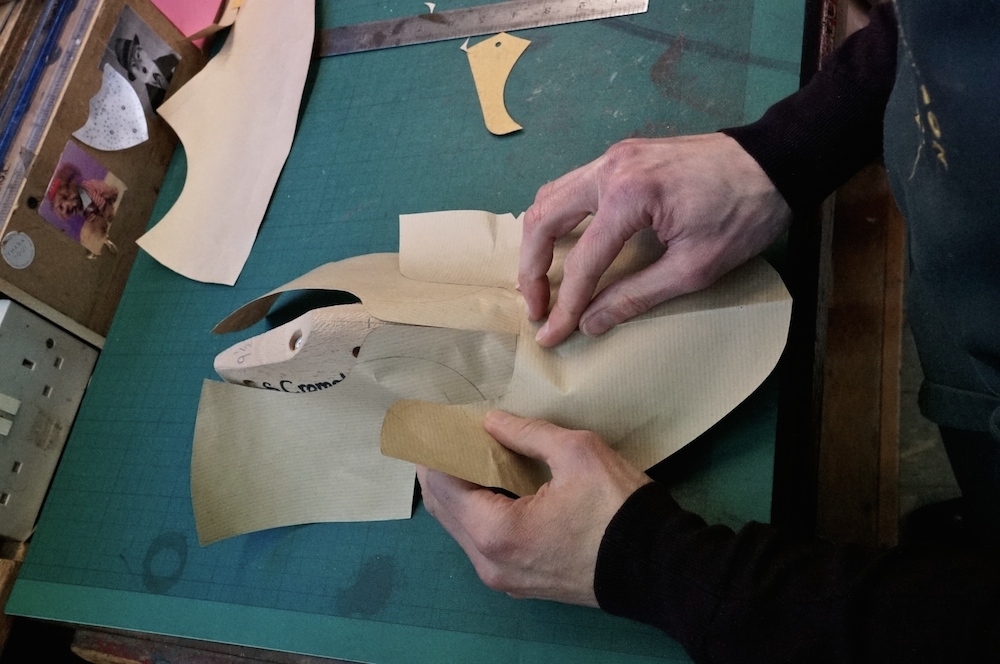
Folding paper onto the last and marking it is the most popular method of doing this. One alternative, used in some shoe schools in the UK, is to cover the shoe in masking tape, draw the design on top, and then carefully cut the tape off. This is quite fiddly, however, and also has the problem of squashing that three-dimensional model into a two-dimensional shape. With paper it’s the opposite way round – taking a 2D plane and moulding it around the 3D last.
The centre line has already been marked on the last – where the centre of the laces will be. This is a judgment call in itself, as it has to find a middle ground between the natural, straight line down the middle of the foot and the angle of the toes.
The brown paper is folded down this centre line, and the top and bottom of the laces marked on. Then it is folded round to the heel, and folded at the heel line which has also been marked on earlier.
The pattern is cut down, and refined, before marking on the laces and the top edge of the shoe. I particularly love the old, flexi-ruler that Emma uses to create a curve for that last step. As with many improvised tools, it was cheap and functional, but is now irreplaceable. They don’t make quite the same rulers any more.
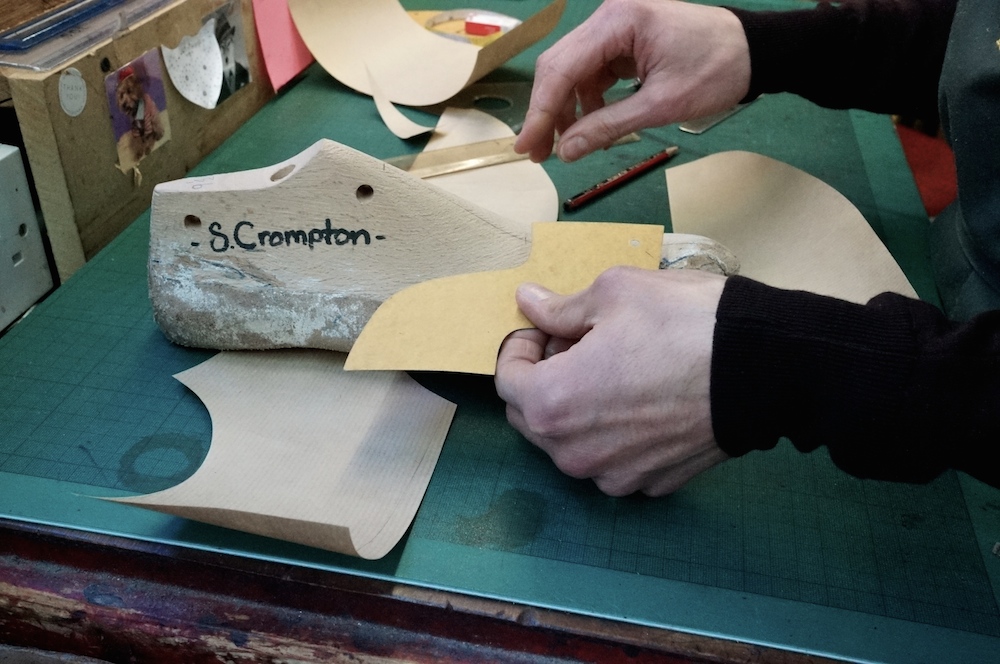
In the images above and below you can see later steps in the pattern-making process. Above, Emma is using a template to give a rough idea of the angle of the brogue line. This is used to create the pattern for the front of the shoe, which is being combined with the two back halves of the shoe, below.
I am using this process of having my shoes made at Foster & Son to highlight areas not covered in my original series on shoemaking, at Cleverley. Next step in a couple of weeks.